Winterizing your chicken coop is an essential part of preparing your flock for the winter months, but it doesn’t have to be intimidating. These five simple steps will have your feathered family all set for a successful winter!
Step 1: Create a Wind Block
One of the first steps to take when winterizing your chicken coop is to set up a wind block around the enclosure. During the winter, cold winds can exponentially increase exposure and heighten the effects of cold weather on your flock. A wind block also keeps winter precipitation from blowing into the enclosure.
Winterizing your chicken coop enclosure with a wind block will help keep your flock warm and healthy this winter. Wind blocks provides these main benefits for your flock during the winter:
- Reduces exposure from the wind chill and precipitation.
- Decreases the chances of frostbite since the wind chill and exposure is limited.
- Helps prevent cold stress
- Keeps the enclosure dry and warm
Materials & Implementation
Like so many things in the world of chicken keeping, there is no one-size-fits-all approach to enclosure wind blocks. You will want to use what will work best for your chicken run and what you have on-hand. However, these are approaches we've found that work well:
Construction Plastic
A good option for creating a wind block on the chicken coop enclosure is to use construction plastic. This plastic comes in large rolls that will easily cover the sides of the chicken coop enclosure. The plastic can be stapled to the supports of the chicken coop enclosure and then battened down to keep the staples from pulling loose. Boards screwed into the frame of the chicken coop enclosure work well as batons.
Tarps
Tarps can be used instead of construction plastic, however, they tend to be darker in color, letting less light through, and they're often less easy to work with.
Dark colored wind blocks won’t allow light into your enclosure and may even absorb too much heat and make the enclosure too toasty for your flock! Construction plastic is usually opaque, which allows light into the enclosure and creates a greenhouse effect within the enclosure without letting it get too warm.
Placement of Your Winter Wind Block
You can put a wind block up on the windiest side of your chicken coop enclosure or you can surround your entire enclosure in the wind block plastic. Just make sure your enclosure still has good ventilation, air flow, and allows in plenty of light. Generally, the north and west sides will get the most direct wind, but it will depend on your geographic location and weather patterns.
Step 2: Coop Ventilation
Next, you should consider the ventilation within your chicken coop. A chicken coop should have good ventilation all year-round, but it's especially important to ensure good ventilation during the winter. You don’t want to insulate and close up your coop to keep in warmth so much that you compromise the ventilation within your coop.
Ventilation is important during the winter for these reasons:
- Good ventilation reduces ammonia fumes which can cause respiratory and sinus problems in poultry
- Ventilation prevents frostbite because it allows moisture to escape the coop, and moisture is the main cause of frostbite
- It helps manage dust levels in the coop which can cause respiratory issues
- Good ventilation allows for proper air exchange within the coop, so old, stale air can be exchanged with fresh, oxygen-laden air
Finding a Balance Between Well-Ventilated & Drafty
You want to make sure your coop has good ventilation without being drafty. Drafts do not allow for air exchange and they can allow cold air to enter the coop without promoting air flow. Some ways to ensure that your coop has good ventilation while still promoting a warmer environment within the coop is to have windows that can be opened and closed part way, or you can have drapes over open windows. You can even create ventilation holes.
Creating Ventilation Holes
Ventilation holes are best placed near the roof of your coop. It may seem counterintuitive since warm air will rise and exit the ventilation holes. However, that warm air will also bring out moisture with it thus creating a dryer coop that prevents frostbite and will help your chickens stay warmer.
Existing Windows & Drapes
With windows and drapes, you can open the windows part way to allow for air-exchange and close them most of the way on really cold days or nights.
Drapes are helpful for windows that are open all the time since the drapes help trap some of the warm air inside the coop while still allowing for air-exchange.
Having good ventilation in your chicken coop this winter will keep your flock healthier and the coop fresh and clean.
Step 3: Use an Insulating Bedding Like Straw
The third preparatory step you will want to do to winterize the chicken coop is to get some straw. Whether you use wood shavings, sand, or straw as a year-round litter in your coop, you will want to get some straw for winter time use. Even if you don’t use the straw as a coop litter, you can still put it in the enclosure.
Benefits of Straw for Winter Coop Insulation
Straw is the ultimate winter time coop or enclosure litter since it provides so many benefits for your flock!
- Keep Your Coop Toasty-Warm: When used in the coop, straw can help insulate the coop and keep it warmer than the outside temperature.
- Prevent Cold Feet: When used in the enclosure, straw helps insulate the ground and prevent frostbite on toes and feet.
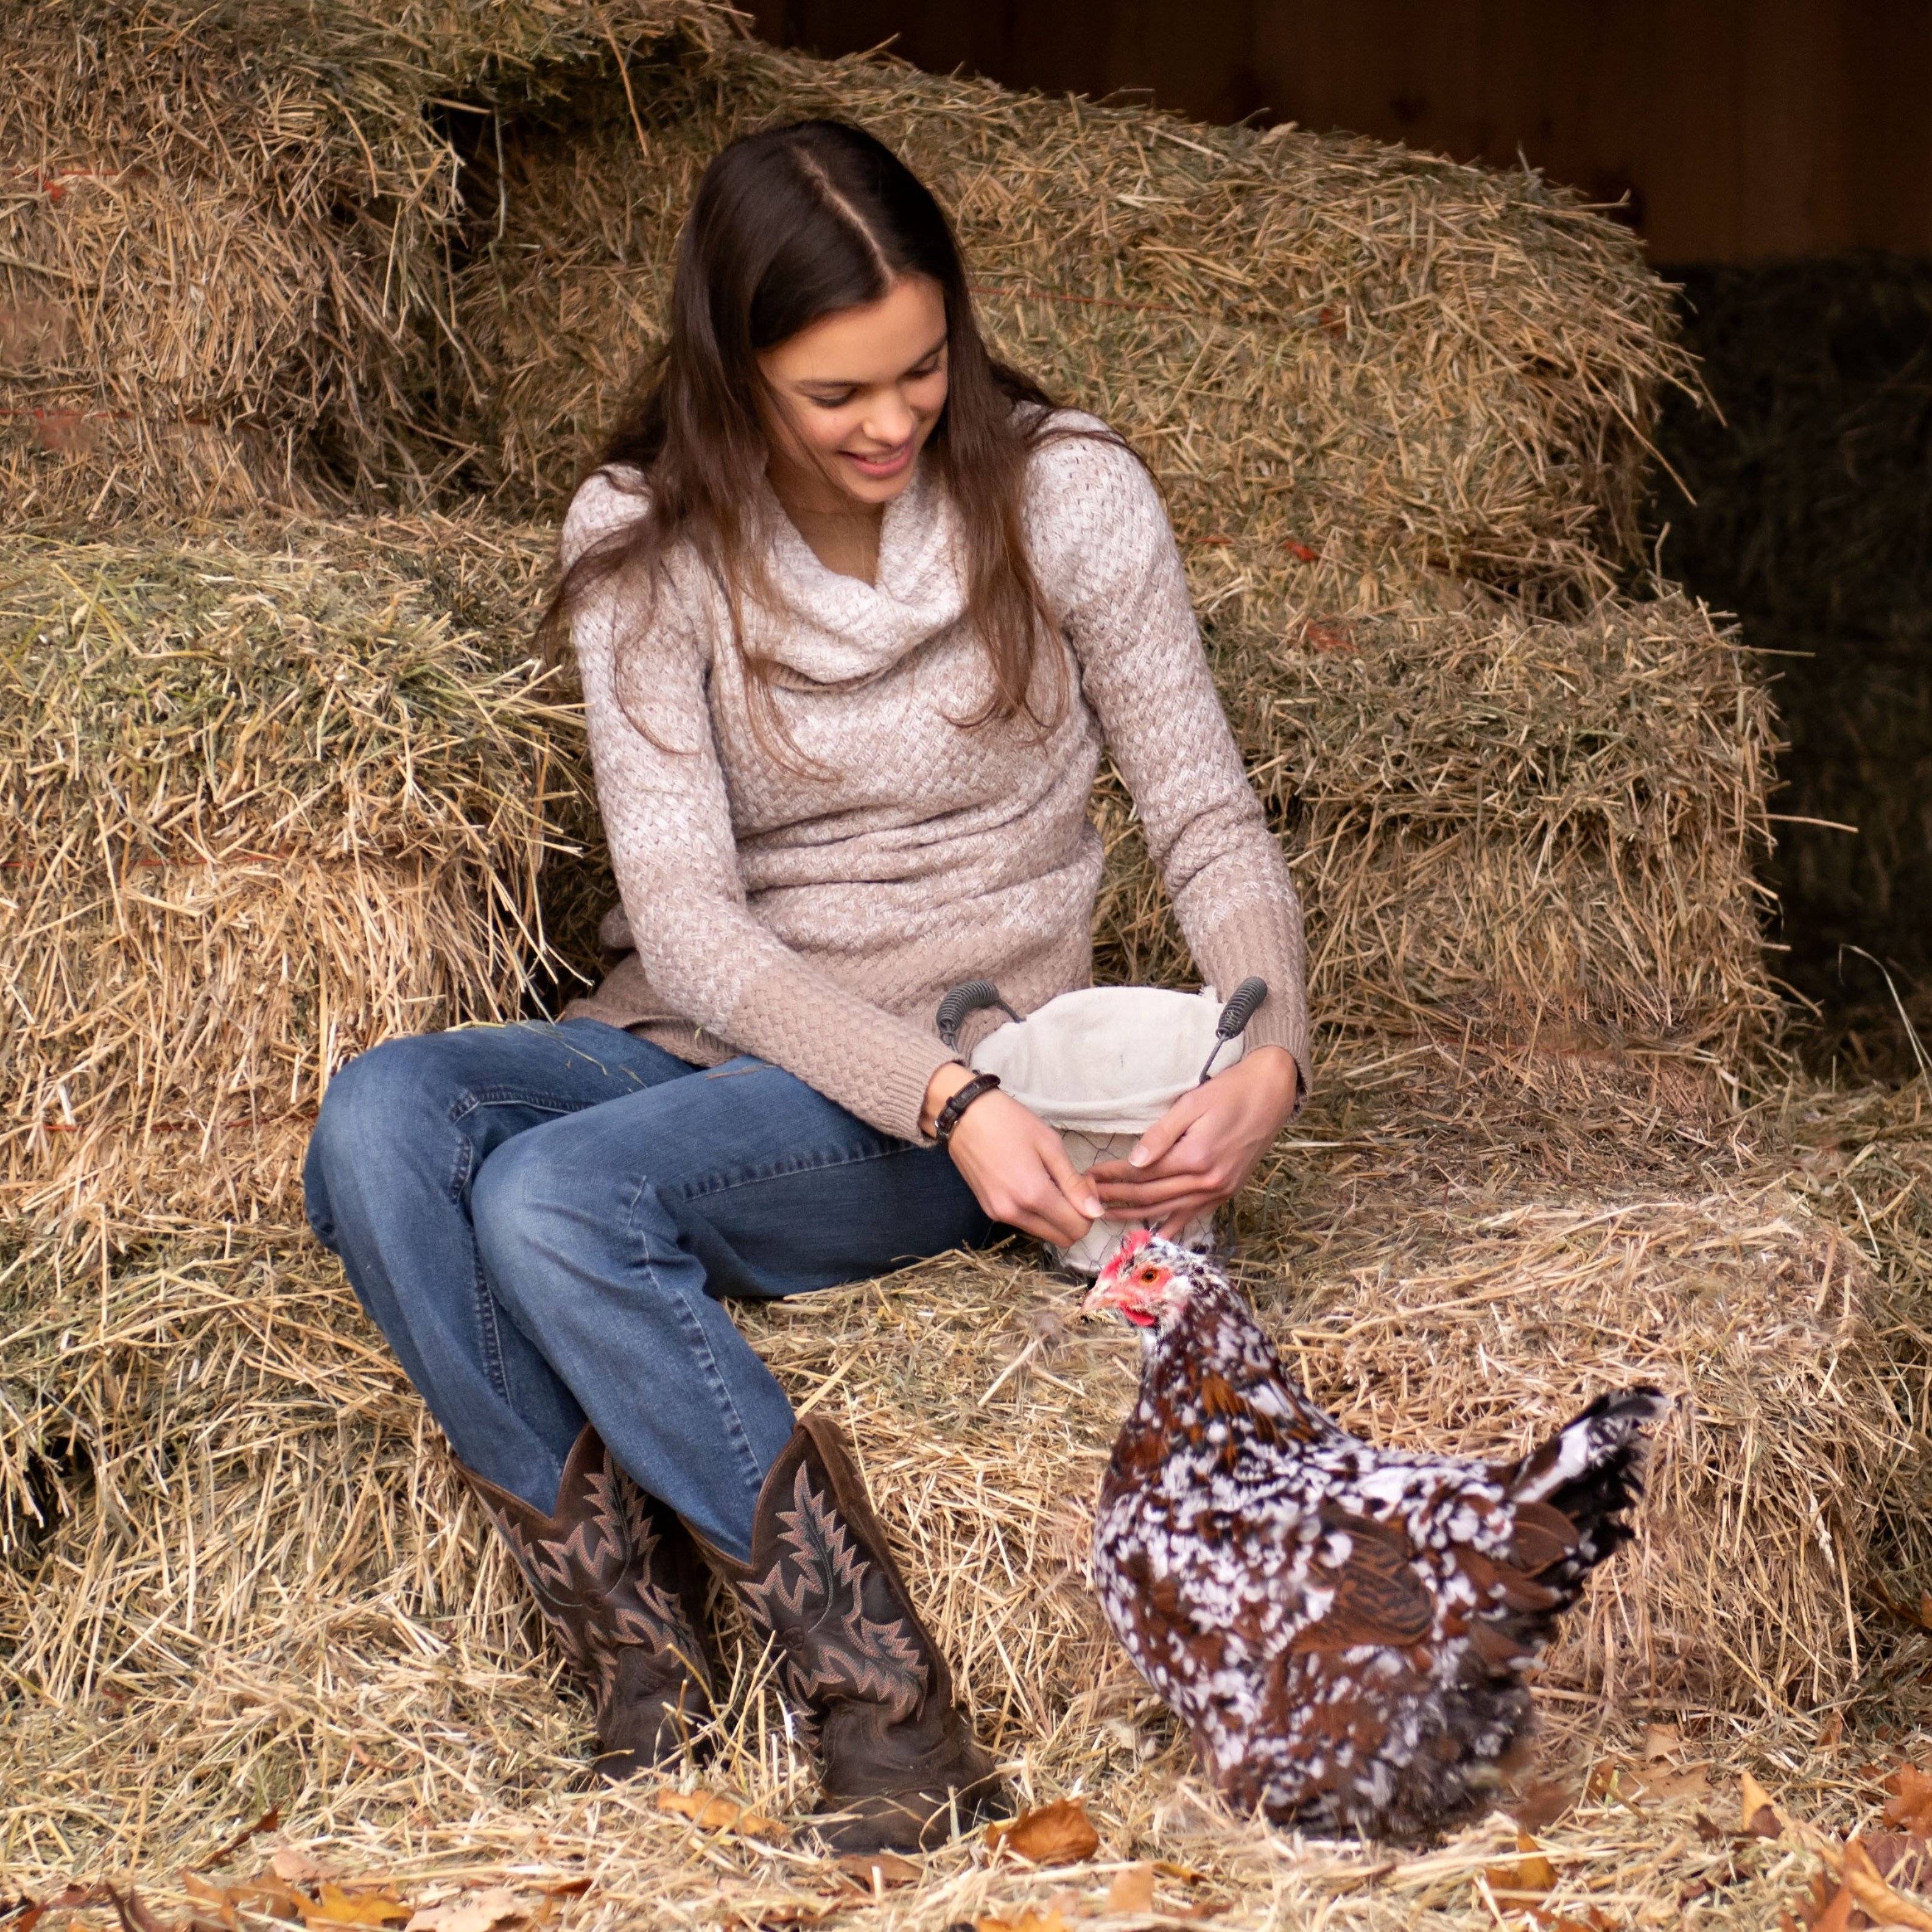
- Bust Winter Boredom & Blues: Straw provides great entertainment for your flock and is a healthy boredom buster to use during the winter.
- Help Your Hen Build Body Heat: It helps prevent cold stress by providing insulation and a motivation to get moving and warm up as your flock sorts through the straw.
- Take Advantage of a Natural Process: As straw composts with the chickens’ droppings, it will generate some natural heat which can be helpful in both the coop and the enclosure.
- Keep Maintenance Minimal: Straw, when used like a deep litter, makes maintaining the chicken coop and enclosure much simpler during the winter months.
How to Use Straw for Winter Insulation
To winterize your coop with straw, decide whether you want to use it as a coop litter, an enclosure litter, or both.
No matter where you decide to use straw, you will want to promote the composting process. By stirring in your flock’s droppings and constantly adding fresh straw, you can create a deep litter that will provide warmth and insulation. Straw is an essential winter time litter to use in either the chicken coop or the enclosure!
Step 4: Keep Water from Freezing
Probably one of the most difficult aspects of winter chicken keeping is preventing water from freezing. This is the fourth step you will want to take when winterizing the chicken coop. Set up a system to keep your flock’s water from freezing so that they will constantly have access to fresh, unfrozen water.
Dehydration can be a real danger in the winter when your flock is breathing in cold, dry air!
Methods to Prevent Water from Freezing
Methods of keeping water unfrozen can be divided into two categories--those requiring electricity and those that don’t require electricity.
Approaches that do require electricity will be more reliable in extremely cold temperatures than those that don’t require electricity. The method that you choose to use will depend on how reliable you want the system to be and how much daily maintenance you can invest in your flock on cold, winter days.
Here are a few popular methods for providing un-frozen water to your flock during the winter:
- The Farm Innovators heated water base for poultry is a very reliable method for keeping plastic water founts from freezing.
- Heated pet dishes work well for providing un-frozen water.
- Creating a system that makes a small ball or bottle bob in the water will keep the water moving and prevent it from freezing under mild winter temperatures.
- Heat tape can be wrapped around water systems to keep the water from freezing.
- Black bowls set in sunny locations can absorb heat from the sun and keep water from freezing for some time, however, this method also tends to promote the growth of algae in the bowls.
- Creating a solar cover or greenhouse effect around the water system can help trap warmth and prevent water from freezing.
What to do for Extreme Winter Conditions
For regions that experience extremely cold temperatures, you will want to invest in a reliable method for keeping your flock’s water from freezing. Otherwise you will still have to check their water every couple of hours during below freezing temps. Creating a method to keep water from freezing is an essential part of winterizing the chicken coop!
(Learn more about how to prevent your flock's water from freezing).
Step 5: Have a Plan for Providing Supplemental Heat
The last step in getting your coop ready for the winter months is to create a plan to deal with extreme weather conditions. This step comes down to the age-old question: Do chickens need heat in the winter? Under certain conditions it may be necessary.
When Do Chickens Need Supplemental Heat in the Winter?
You've probably heard that you should not provide supplemental heat for your flock during the winter, which is true most of time. Chickens can handle cold weather extremely well due to the insulating nature of their feathers. But they need time to adjust to the colder temperatures, such as what usually happens naturally in the fall as the temperatures slowly get colder. It’s when the temperature makes a drastic change or stays extremely severe for a length of time that it will start to take a toll on your flock.
The Risk of Cold Stress
Drastic weather changes and long periods of extreme temperatures causes cold stress. Cold stress suppresses the immune system, uses up extra body resources, and negatively affects the metabolism. When this happens a chicken can’t produce enough energy to keep all its bodily functions working properly. This is when you should provide some supplemental heat.
Implementing Supplemental Heat for Your Chickens
Don’t think of supplemental heat as creating a sauna for your chickens. That will not help at all! Supplemental heat should be supplied free-choice or used to keep the coop temperature around 32°F until the outside temperatures warm up to above freezing. Free-choice heat is the most ideal since it allows the chickens to choose whether they want extra heat or not.
Options for Supplemental Heat
There are several safe options for providing supplemental heat:
- Heat pads: Small animal heating pads are a great free-choice heat source that your chickens can utilize if they want
- Poultry heating panels: Just like with the pads, your flock can choose to stand near the heat panel if they want to get warm
- Enclosed space heaters: These can be used if you have an area in your coop that the chickens can’t access, such as a storage area
- Heat boxes: Heat boxes can be created to provide a small space for one or two chickens to enter and get warm whenever they want
Supplement Heat Don'ts: Avoid Using a Heat Lamp in Your Coop
Never use a heat lamp if you use straw as your coop litter. Straw is highly flammable and heat lamps are a fire hazard in the coop.
Also, provide the supplemental heat for no longer than is necessary. Your flock should not need supplemental heat all winter long.
Also, keep in mind that if the electricity goes out, the heat source will stop working. If your flock is relying on the heat, this can cause stress in the flock and do more harm than good. So, if there is a great chance of the power going out, you are better off not providing supplemental heat at all.
Instead, do other things to help your flock stay warm, such as providing a healthy snack before roosting time and using the deep litter method in the coop.
Benefits of Supplemental Heat for Your Chickens During Winter
Providing supplemental heat during times of extreme cold stress will help keep your flock healthy throughout the winter. It will give the chicken’s body a little boost and allow it to stay both warm and functioning through the extreme weather spell. Supplemental heat can be provided under these conditions:
- The temperatures stay below freezing for a prolonged period of time (e.g. several days and nights).
- The temperatures take a sudden jump from being mild to being cold, this sometimes happens in the fall before your flock has adjusted to the winter temperatures.
- The temperatures are in the negatives.
A Happy, Healthy Winter
Having the chicken coop all winterized will ensure your flock stays warm, healthy, and stress free this winter! A winterized chicken coop will also make winter chicken care go a lot smoother.
The five key steps to winterizing your chicken coop are, creating a wind block around the enclosure, making sure your coop is well ventilated, getting some straw for the coop enclosure litter, ensuring you have a water heating system set up to keep water founts from freezing, and having a plan for providing supplemental heat if it is necessary. Once you have these five steps down, you should be all set to have a successful and healthy winter with your flock!